Learn Touch Typing: A Practical Guide to Faster, More Accurate Typing
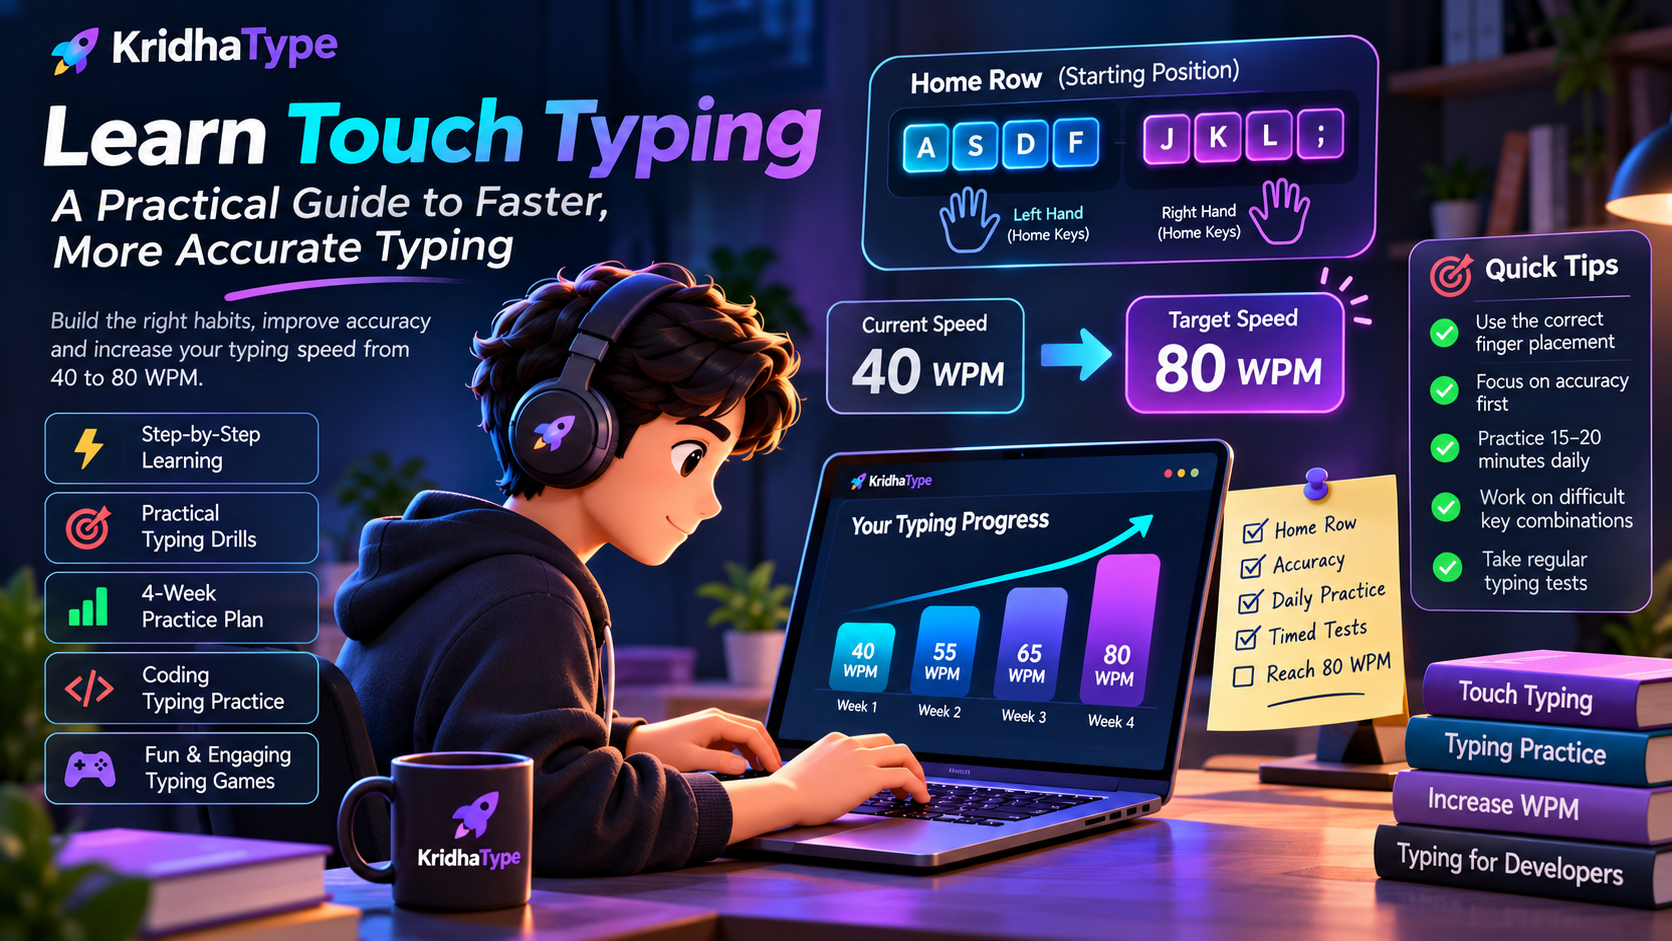
Table of Contents
- Start With the Home Row
- Learn Which Fingers Reach Each Key
- A Four-Week Plan to Learn Touch Typing
- Focus on Accuracy Before Speed
- How to Improve Typing Speed
- Touch Typing Practice for Programmers
- Touch Typing for Timed Exams
- What to Do When Your Progress Stalls
- A Simple Daily Touch Typing Routine
Learn Touch Typing: A Practical Guide to Faster, More Accurate Typing
Touch typing means typing without looking down at the keyboard. Instead of searching for each key with your eyes, you use consistent finger positions and repetition to build muscle memory. It takes practice, but the result is fewer pauses, better accuracy, and a more comfortable way to type for school, work, coding, or exams.
Start With the Home Row
Your home row is the starting position for every keystroke:
| Left hand | Right hand |
|---|---|
| A, S, D, F | J, K, L, ; |
Place your left index finger on F and your right index finger on J. Most keyboards have small raised bumps on these keys so you can find them without looking. Keep both thumbs near the spacebar.
Each finger should return to its home-row position after pressing another key. This matters more than speed at the beginning. If you keep changing your hand position, your fingers cannot build reliable movement patterns.
Keep your shoulders relaxed, sit upright, and avoid bending your wrists sharply. A comfortable setup makes longer practice sessions easier.
Learn Which Fingers Reach Each Key
Touch typing works because every finger has a small set of keys to handle. Your index fingers cover the largest area, while your pinkies handle the outer keys.
- Left pinky: Q, A, Z
- Left ring finger: W, S, X
- Left middle finger: E, D, C
- Left index finger: R, T, F, G, V, B
- Right index finger: Y, U, H, J, N, M
- Right middle finger: I, K, ,
- Right ring finger: O, L, .
- Right pinky: P, ;, /, Enter, Shift, Backspace
You do not need to memorize the entire keyboard in one sitting. Start with the home row, then add keys gradually through structured lessons.
Follow touch typing lessons that introduce keys in a logical order instead of jumping straight into full paragraphs.
A Four-Week Plan to Learn Touch Typing
Short, focused practice sessions work better than occasional long sessions. Aim for 15 to 20 minutes a day, five or six days per week.
Week 1: Build Home-Row Control
Practice A, S, D, F, J, K, L, and ; until your fingers return to the correct position automatically.
- Slow key drills
- Simple letter combinations
- Keeping your eyes on the screen
- Correcting mistakes immediately
Do not worry about words per minute yet. Your job is to make the movements consistent.
Week 2: Add the Top and Bottom Rows
Once the home row feels natural, introduce keys above and below it. Continue to use the correct finger for each key, even if it feels slower at first.
Practice short words and common patterns such as:
- the
- and
- for
- typing
- practice
- learn
Your speed may drop while you learn new keys. That is normal. Keep accuracy as your main goal.
Week 3: Add Capitals, Punctuation, and Numbers
Start practicing Shift, commas, periods, apostrophes, brackets, and numbers. These keys matter when you write emails, assignments, code, or exam responses.
Use short sentences that include capitals and punctuation. For example:
Practice every day, and your typing will feel easier.
Week 4: Build Continuous Typing Fluency
Practice full sentences, paragraphs, and timed exercises. Try to type at a steady rhythm instead of rushing through the first few words and slowing down after an error.
Use a typing speed test once or twice a week to track your progress under similar conditions.
Focus on Accuracy Before Speed
Speed is easy to measure, but accuracy decides whether that speed is useful. Typing quickly while making frequent mistakes creates extra work because you must stop, find the error, and fix it.
| Practice stage | Accuracy goal | Main focus |
|---|---|---|
| Learning new keys | 90%+ | Correct finger movement |
| Regular drills | 95%+ | Fewer repeated errors |
| Timed practice | 95%+ | Steady speed and rhythm |
If your accuracy drops below your target, slow down. Repeat difficult letter combinations until they feel easier. A clean 35 WPM is often more useful than a rushed 50 WPM with many corrections.
How to Improve Typing Speed
- Practice difficult keys on purpose.
- Keep a steady pace instead of rushing.
- Use short daily sessions for regular repetition.
- Take timed tests consistently.
- Reduce unnecessary backspacing by slowing down slightly.
Typing speed usually improves in steps rather than in a straight line. You may stay at one speed for several sessions, then improve after a difficult key pattern becomes automatic.
Touch Typing Practice for Programmers
Developers need more than fast alphabet typing. Coding includes symbols, brackets, numbers, indentation, and mixed-case names. Standard paragraph practice helps, but it does not fully prepare you for real programming work.
Add exercises that include:
- Parentheses:
() - Curly braces:
{} - Square brackets:
[] - Quotes:
""and'' - Operators:
=,+,-,=> - Numbers and file paths
camelCaseandsnake_case- Indentation and line breaks
Your goal is not just a higher WPM score. It is smoother typing while writing code, editing variables, and navigating punctuation-heavy syntax.
Touch Typing for Timed Exams
For typing-based exams, practice under the format and time limit you expect to face. Long passages require concentration, consistent capitalization, punctuation control, and the ability to recover calmly after a mistake.
- Spend 5 minutes warming up with key drills.
- Complete one timed passage.
- Review the mistakes you made most often.
- Repeat a focused drill for those errors.
- Finish with a shorter timed passage.
What to Do When Your Progress Stalls
A typing plateau usually means one of two things: your accuracy needs work, or your practice is no longer challenging enough.
If Your Accuracy Is Inconsistent
- Reduce your speed.
- Return to weak-key drills.
- Practice shorter passages.
- Keep your eyes on the screen.
If Your Speed Has Stopped Improving
- Use longer passages.
- Add unfamiliar words.
- Practice punctuation and numbers.
- Try coding exercises or formal writing.
- Work on keeping a steady rhythm.
A Simple Daily Touch Typing Routine
- Warm up for 3 minutes with the home row and weak keys.
- Practice targeted drills for 7 minutes using difficult letters or symbols.
- Type sentences or paragraphs for 7 minutes without looking at the keyboard.
- Check results for 3 minutes and note your WPM, accuracy, and common mistakes.
Use Kridha Type to keep your practice structured, then take a typing test regularly to see how your speed and accuracy change over time.
The most important rule is simple: use the correct fingers, stay accurate, and practice often enough for the movements to become automatic.
Sujal Kumar Soni
Founder & AuthorCreator and lead engineer of Kridha Type. Passionate about developer tooling, high-velocity typing mechanics, and helping engineers reach their peak cognitive flow state.
Put These Techniques to the Test
Track your exact words per minute, keystroke latency, and code accuracy on Kridha Type.
Recommended Reading
How to Increase Typing Speed for Coders: 10 Science-Backed Methods
Master touch typing tailored specifically for developers. Learn how practicing real JavaScript, React, and Python syntax builds muscle memory faster than generic dictionary tests.
Why WPM and Accuracy Matter for Software Engineers in 2026
Why typing rhythm directly impacts your cognitive flow state during complex programming, code reviews, and live technical interviews.
Mastering Special Symbols and Brackets in JavaScript and React JSX
Drill exercises for error-prone syntax symbols like curly braces, arrow functions, semicolons, triple equals, square brackets, and JSX props to eliminate typing bottlenecks.